If you have worked enough on the New Dynamics AX, you must be well aware
of the new Workspaces feature by now. The workspaces are basically an
aggregation of several business tasks, insights, reporting and dashboards that
a business user deals with on a typical work day. These workspaces comes
in really handy for end users by providing everything they need to
execute their daily tasks, all at one central location, so that they can become
more productive and save time to focus on important things.
Workspaces probably are one of the most liked and talked about
features of the New Dynamics AX among users, customers and prospects. Some of
the examples of the workspaces are ” Financial Period Close”, “Employee Self
Service“, “Manager Self Service“, “Project Management“, “Cost
Administration” and more.
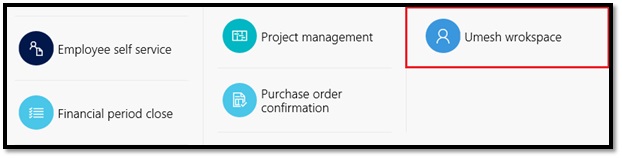
Standard Dynamics AX
already provides several workspaces out-of-the-box for most of the operational
areas and departments of your business (Shown in screenshot below), but
there might be specific cases where you might want to create customized
workspace of your own to meet your requirements. With the release of
Update 1 for Dynamics AX in May 2016, you can now create and build your
own workspaces without requiring a developer or any sort of coding. Let us see
the steps involved in doing this.

Create a new Workspace in Dynamics AX:
- On the main landing page of workspaces, right click anywhere on the blank area and click Personalize > Tile page container.


 The
next step is to add the different components of this workspace to make it look
complete. Let us first add a few live tiles. Navigate to the Umesh Practice Module and go the pages
which you want to add to the workspace. In this case I will add a few of the
list pages. On the list page, click OPTIONS > Add to workspace and select
the newly created workspace, and click Configure and click OK.
The
next step is to add the different components of this workspace to make it look
complete. Let us first add a few live tiles. Navigate to the Umesh Practice Module and go the pages
which you want to add to the workspace. In this case I will add a few of the
list pages. On the list page, click OPTIONS > Add to workspace and select
the newly created workspace, and click Configure and click OK.


If you choose, you can now add
PowerBI components to the workspace using the Open report catalog menu point in
Options on the ribbon.
So far, I have not found a way
to add normal (SSRS) reports to the workspace as a hyperlink.
This was a very short introduction
to how you can create your own personal workspace in D365FO. And yes, it really
is that simple.
---------------------------------------------------------------
Next step would be to add the
option of adding/removing Power BI tiles for dashboards and reports. Navigate
into the new workspace and click Options > Personalize this form. On the
Personalization pane, click the Add button and mark “Allow Power BI Control”.


At the end of adding the Power
BI tiles option, your workspace should look something like below.
how to create a new workspace with no coding needed
Links

Thanks for comments.....