Showing posts with label Java Script. Show all posts

How to check download speed in asp.net


Description:-

In this article I will explain how to check and find the Internet Connection (Download) speed using C#. A file of known size will be downloaded from a remote server 5-10 times and the time required to download the file is noted. Finally the average of these readings will be used to calculate approximate Internet Connection or Download speed. For more accurate readings, you need to download larger files.

I am downloading a jQuery script file from Google CDN. The size of the file is 261 KB, which I have determined from windows explorer. The download speed of calculated by dividing the size of the file (in KB) with the difference in download start and end time (in seconds).

The above process is repeated 5 times and the result is stored in an array after each iteration. Follow given code to check your internet connection speed (download speed).

Default.aspx:-
<div>
  <asp:Label ID="lblDownloadSpeed" runat="server" />
  <asp:Button ID="Button1" Text="Check Speed" runat="server" OnClick="CheckSpeed" />
</div>

Step 2: Now Call a JavaScript in your webPage

<script type="text/javascript" src="Scripts/advajax.js"></script>

Step 3: Now generate Button Click event to Create Code for Check Download Speed.

Default.aspx.cs:-
protected void CheckSpeed(object sender, EventArgs e)
{
   double[] speeds = new double[5];
   for (int i = 0; i < 5; i++)
   {
      intjQueryFileSize = 261; //Size of File in KB.
      WebClient client = new WebClient();
      DateTime startTime = DateTime.Now;
      client.DownloadFile("http://ajax.googleapis.com/ajax/libs/jquery/1.8.3/jquery.js", Server.MapPath("~/jQuery.js"));
      DateTime endTime = DateTime.Now;
      speeds[i] = Math.Round((jQueryFileSize / (endTime - startTime).TotalSeconds));
   }
   lblDownloadSpeed.Text = string.Format("Download Speed: {0}KB/s", speeds.Average());
}

NameSpaces:-

using System;
using System.Collections.Generic;
using System.Web;
using System.Web.UI;
using System.Web.UI.WebControls;
using System.Net;
using System.Linq;

Step 4: Now run you WebPage.
Step 5: Click on CheckSpeed button to Check Download Speed.

Get Image coordinates in Asp.Net

Get Image coordinates in Asp.Net

Description:-

In this article we will see about image coordinates. You can get image co-ordinates using the position of you mouse pointer. To read it you have to get the x and y value on your mouse pointer and you can after get the co-ordinates of image. In actual format formats is nothing but the mouse pointer position to read it you have to X and Y value from you page. So you can directly read it.

Default.aspx:-

<form name="pointform" method="post">
<div style="position: absolute; left: 20px; top: 20px;"> Get Image coordinates</div>
<div style="clear: both; height: 5px;"> </div>
<div id="pointer_div" onclick="point_it(event)" style="background-image: url('water.png');
background-repeat: no-repeat; width: 900px; height: 262px;">
</div>
<div style="position: absolute; left: 20px; top: 280px;"> You pointed on x =
  <input type="text" name="form_x" size="4"/>- y =
  <input type="text" name="form_y" size="4"/>
</div>
</form>

JavaScript Code:-

<script language="JavaScript"type="text/javascript">
function point_it(event) {
  pos_x = event.offsetX ? (event.offsetX) : event.pageX - document.getElementById("pointer_div").offsetLeft;
  pos_y = event.offsetY ? (event.offsetY) : event.pageY - document.getElementById("pointer_div").offsetTop;
  document.pointform.form_x.value = pos_x;
  document.pointform.form_y.value = pos_y;
}
</script>

Now you can run your application and get X and Y Co-ordinates of your Image.

How to play youtube video using modelpopup xxtender in Asp.net


Description:-

In this article we will Play YouTube video using ModelPopupExtender in dot net. Here we will Create Textbox, Button Control for Open YouTube Video in Model Popup Extender by Given Textbox Url for YouTube Video. follow this step to create it.

Design your Webpage like below.

<div>
   <cc1:ToolkitScriptManager ID="ToolkitScriptManager1" runat="server">
   </cc1:ToolkitScriptManager>
   <asp:TextBox ID="txtUrl" runat="server" Width="300" Text="https://www.youtube.com/watch?v=cWuvnc6u93A" />
   <asp:Button ID="btnShow" runat="server" Text="Play Video" OnClientClick="return ShowModalPopup()" />
   <asp:LinkButton ID="lnkDummy" runat="server"></asp:LinkButton>
   <cc1:ModalPopupExtender ID="ModalPopupExtender1" BehaviorID="mpe" runat="server"
      PopupControlID="pnlPopup" TargetControlID="lnkDummy" BackgroundCssClass="modalBackground"
      CancelControlID="btnClose">
   </cc1:ModalPopupExtender>
   <asp:Panel ID="pnlPopup" runat="server" CssClass="modalPopup" Style="display: none">
      <div class="header">
         Youtube Video
      </div>
      <div class="body">
         <iframe id="video" width="420" height="315" frameborder="0" allowfullscreen></iframe>
         <br />
         <br />
         <asp:Button ID="btnClose" runat="server" Text="Close" />
      </div>
   </asp:Panel>
   <script type="text/javascript">
      function ShowModalPopup() {
      
          var url = $get("<%=txtUrl.ClientID %>").value;
      
          url = url.split('v=')[1];
      
          $get("video").src = "//www.youtube.com/embed/" + url
      
          $find("mpe").show();
      
          return false;
      
      }
      
   </script>
</div>

Here you can see I have used Script for getting YouTube URL and show link in ModelPopup Extender.

<script type="text/javascript">
    function ShowModalPopup() {   
        var url = $get("<%=txtUrl.ClientID %>").value;   
        url = url.split('v=')[1];   
        $get("video").src = "//www.youtube.com/embed/" + url $find("mpe").show();
        return false;   
    }   
</script>

Now assign some Style for ModelPopupExtender for Layout in Webpage.

<style type="text/css">
   body
   {
   font-family: Arial;
   font-size: 10pt;
   }
   .modalBackground
   {
   background-color: Black;
   filter: alpha(opacity=60);
   opacity: 0.6;
   }
   .modalPopup
   {
   background-color: #FFFFFF;
   width: 500px;
   border: 3px solid #0DA9D0;
   padding: 0;
   }
   .modalPopup .header
   {
   background-color: #2FBDF1;
   height: 30px;
   color: White;
   line-height: 30px;
   text-align: center;
   font-weight: bold;
   }
   .modalPopup .body
   {
   min-height: 50px;
   padding: 5px;
   line-height: 30px;
   text-align: center;
   font-weight: bold;
   }
</style>

Now run your Application and Paste YouTube Video URL in Textbox and Click on button to open ModelPopupExtender with YouTube Video.

How to Create AutoUpload File Using Jquery in Asp.Net


Description:-

In this Example we will Create Auto Upload file using JQuery in Dot net. Browse file and Upload Directly with Specify Folder. Here we will Create Script for Browse File and Upload Directly. Using Uplodify JQuery we can achieve this functionality.

Drag and Drop FileUpload Control in your Webpage.

<div style="padding: 40px">
  <asp:FileUpload ID="FileUpload1" runat="server" />
</div>

We will User JQuery in this Webpage is given below.

<script type="text/javascript" src="jquery-1.3.2.min.js"></script>
<script type="text/javascript" src="jquery.uploadify.js"></script>
Now Create Script for Auto Upload after Selecting File with Some Property like Auto Upload, Multi Select File, and Folder for Save Image, Image Extension for Validation, Files Description, and Button Text for Browse files etc...

<script type="text/javascript">
    $(window).load(
    function () {
        $("#<%=FileUpload1.ClientID %>").fileUpload({
            'uploader': 'scripts/uploader.swf',
            'cancelImg': 'images/cancel.png',
            'buttonText': 'Browse Files',
            'script': 'Upload.ashx',
            'folder': 'Files',
            'fileDesc': 'Image Files',
            'fileExt': '*.jpg;*.jpeg;*.gif;*.png',
            'multi': true,
            'auto': true
        });
    }
);
</script>

Now run your Application and Browser File it will Auto Upload your Selected File in your Selected Folder.

How to Use Ajax AsyncFileUpload in Asp.Net


Description:-

In this article will create Ajax AsyncFileUpload Control in Our Webpage to Upload File in Folder and Display after Upload. So we can Upload Image and after Upload we can see image using Ajax AsyncFileUpload Control.

Design your Webpage like below.

<div>
   <asp:ScriptManager ID="ScriptManager1" runat="server">
   </asp:ScriptManager>
   <cc1:AsyncFileUpload OnClientUploadComplete="uploadComplete" runat="server" ID="AsyncFileUpload1" Width="400px" UploaderStyle="Modern" CompleteBackColor="White" UploadingBackColor="#CCFFFF" ThrobberID="imgLoader" OnUploadedComplete="FileUploadComplete" OnClientUploadStarted="uploadStarted" />
   <asp:Image ID="imgLoader" runat="server" ImageUrl="~/images/loader.gif" />
   <br />
   <br />
   <img id="imgDisplay" alt="" src="" style="display: none" />
</div>

Now Create Script for Upload Start and Upload Complete for see Image after Upload.

<script type="text/javascript">
        function uploadStarted() {
            $get("imgDisplay").style.display = "none";
        }
        function uploadComplete(sender, args) {
            var imgDisplay = $get("imgDisplay");
            imgDisplay.src = "images/loader.gif";
            imgDisplay.style.cssText = "";
            var img = new Image();
            img.onload = function () {
                imgDisplay.style.cssText = "height:100px;width:100px";
                imgDisplay.src = img.src;
            };
            img.src = "<%=ResolveUrl(UploadFolderPath) %>" + args.get_fileName(); ;
        }
</script>

Now Generate OnUploadedComplete Property of AsyncFileUpload and Code for Save File in Folder.

protected void FileUploadComplete(object sender, EventArgs e)
{
   string filename = System.IO.Path.GetFileName(AsyncFileUpload1.FileName);
   AsyncFileUpload1.SaveAs(Server.MapPath(this.UploadFolderPath) + filename);
}

Now run you Application and Upload File through Ajax AsyncFileUpload Control and after Upload you can see Uploaded image.
create JQuery ui tabs content navigation in asp.net

create JQuery ui tabs content navigation in asp.net

Description:-

In this Example we explain that how to create JQuery UI tabs content navigation in your asp.net Website or create Tab control in asp.net using JQuery.

We all know or show that the One of the most features that you may often see in the many websites is the tabs-based content navigation. For example one tab contain Register form second tab contain Login form etc…

We can also create UI tab using Ajaxcontrol Toolkit but this is the client side UI tab using JQuery and also reduce the load and does not Postback but in Ajax we also require whole toolkit in our project so JQuery is the best way to dynamically create JQuery UI tab in asp.net.

Default.aspx:-

<!DOCTYPE htmlPUBLIC"-//W3C//DTD XHTML 1.0 Transitional//EN""http://www.w3.org/TR/xhtml1/DTD/xhtml1-transitional.dtd">
<html xmlns="http://www.w3.org/1999/xhtml">
<head runat="server">
<title></title>
  <link type="text/css"href="http://ajax.microsoft.com/ajax/jquery.ui/1.8.9/themes/blitzer/jquery-ui.css" rel="Stylesheet"/>
  <script type="text/javascript"src="http://ajax.aspnetcdn.com/ajax/jquery/jquery-1.4.4.js"></script>
  <script type="text/javascript"src="http://ajax.aspnetcdn.com/ajax/jquery.ui/1.8.9/jquery-ui.min.js"></script>
  <script type="text/javascript">
     $(function () {
        $("#InfoTab").tabs();
     });
  </script>
</head>
<body>
<form id="form1" runat="server">
<div>
  <div class="content">
    <div id="InfoTab" style="width:500px;">
      <ul>
        <li><a href="#Jignesh">Umesh Patel</a></li>
        <li><a href="#pintu">Chirag Patel</a></li>
        <li><a href="#rahul">Kiran Patel</a></li>
      </ul>
      <div id="Umesh">
        <p> Umesh Patel is a sofware engineer and he is worked on .Net technology. he was completed his post gradution with MCA in Rajkot and he is also a Blogger.
        </p>
      </div>
      <div id="Chirag">
        <p>Chirag Patel is a sofware engineer and he is worked on .Net technology. he was completed his post gradution with MCA in Rajkot and he is also a businessman..
        <br/>
        </p>
      </div>
      <div id="Kiran">
        <p>Kiran Patel is a sofware engineer and he is worked on .Net technology. he was completed his post gradution with MCA in Rajkot and he is also a Blogger.
        </p>
      </div>
    </div>
  </div>
</div>
</form>
</body>
</html>

How to Create Scrollable Gridview in Asp.Net Using JavaScript


Description:-

In this example we will see how to create scrollable GridView in dot net using JQuery. Here bind Gridview from SQL Server and Fixed size we will assign for Gridview for Particular area so we can set Scroll in Gridview. Let’s start how to do it.

In you webpage Design your Gridview like below and create script for scrolling. Using Data Fields we can Retrieve Column Data from SQL Server.

Download File:- ScrollableGridPlugin.js, Jquery-1.4.1.min.js

Default.aspx:-

<div>
  <asp:GridView ID="fixedHeaderScrollableGridView" runat="server" DataSourceID="SqlDataSource1" AutoGenerateColumns="False"
  DataKeyNames="ProductID" BackColor="White" BorderColor="#999999" BorderStyle="Solid" BorderWidth="1px" CellPadding="3" 
  ForeColor="Black" GridLines="Vertical" >
  <AlternatingRowStyle BackColor="#CCCCCC" />
  <Columns>
    <asp:BoundField DataField="ProductID" HeaderText="ProductID" />
    <asp:BoundField DataField="ProductName" HeaderText="ProductName" />
    <asp:BoundField DataField="QuantityPerUnit" HeaderText="QuantityPerUnit" />
    <asp:BoundField DataField="UnitPrice" HeaderText="UnitPrice" />
    <asp:BoundField DataField="CategoryName" HeaderText="CategoryName" />
  </Columns>
  <FooterStyle BackColor="#CCCCCC" />
  <HeaderStyle BackColor="Black" Font-Bold="True" ForeColor="White" />
  <PagerStyle BackColor="#999999" ForeColor="Black" HorizontalAlign="Center" />
  <SelectedRowStyle BackColor="#000099" Font-Bold="True" ForeColor="White" />
  <SortedAscendingCellStyle BackColor="#F1F1F1" />
  <SortedAscendingHeaderStyle BackColor="#808080" />
  <SortedDescendingCellStyle BackColor="#CAC9C9" />
  <SortedDescendingHeaderStyle BackColor="#383838" />
 </asp:GridView>
 <asp:SqlDataSource ID="SqlDataSource1" runat="server" ConnectionString=
    "<%$ ConnectionStrings:DBCS %>" SelectCommand="SELECT * FROM [Products]"> </asp:SqlDataSource>
</div> 

Script for generating Gridview
<script src="jquery-1.4.1.min.js" type="text/javascript"></script>
<script src="ScrollableGridPlugin.js" type="text/javascript"></script>
<script type="text/javascript" language="javascript">
$(document).ready(function () {
  $('#<%=fixedHeaderScrollableGridView.ClientID %>').Scrollable({ScrollHeight: 100});
  });
</script> 

Using ScrollableGridPlugin.js and Jquery-1.4.1.min.js you can create your Own Scrollable Gridview in browser and for giving Height you can assign limited height for Gridview.

In your Webpage Bind Gridview from SQL DataSource and Get data from SQL Database. Now Generate Script for Scrolling so we can Create Scroll in Gridview. For Connection String you Can Check your Web.config file. Here I have took my connection String for taking data from my Database. You can create our own when you bind connection string using SqlDataSource.

Now run your Webpage in Browser and you will get scroll in your Gridview.

Create google gauge chart in asp.net


Description:-

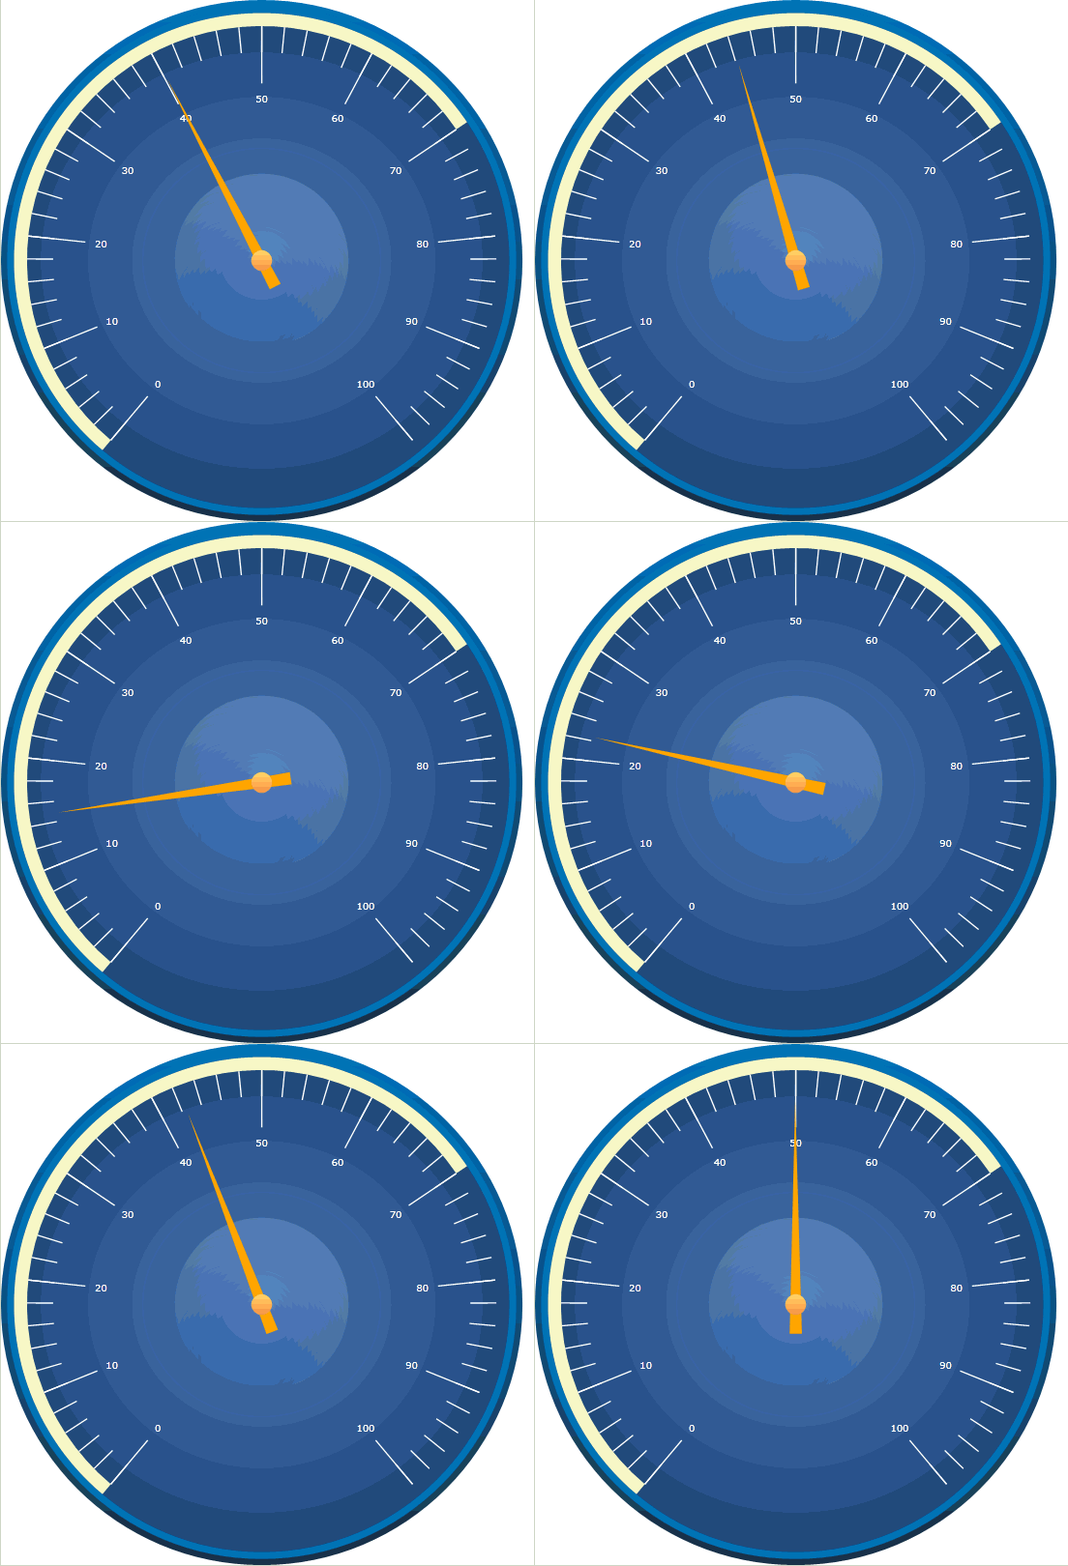
In this Article we will see how to Create Google Gauge Chart in dot net.  Here I have Generate Script Dynamically from Database to bind Chart from Script. You can Generate what event data you will pass in the Database based on that it will Create Gauge Chart. Here is the Sample Demo Example to Generate Chart.

Default.aspx:-

<div>
  <asp:Literal ID="lt" runat="server"></asp:Literal>
</div>
<div id="chart_div"></div>

Default.aspx.cs:-

protected void Page_Load(object sender, EventArgs e)
{
  if (Page.IsPostBack == false)
  {
    BindChart();
  }
}

private DataTable GetData()
{
  DataTable dt = new DataTable();
  string cmd = "select Name, Price from products";
  SqlDataAdapter adp = new SqlDataAdapter(cmd, conn);
  adp.Fill(dt);
  return dt;
}

private void BindChart()
{
  DataTable dt = new DataTable();
  try
  {
    dt = GetData();
    str.Append(@"<script type=text/javascript> google.load( *visualization*, *1*, {packages:[*gauge*]});
        google.setOnLoadCallback(drawChart);
        function drawChart() {
           var data = new google.visualization.DataTable();
           data.addColumn('string', 'item');
           data.addColumn('number', 'value');      
           data.addRows(" + dt.Rows.Count + ");");
           for (int i = 0; i <= dt.Rows.Count - 1; i++)
           {
             str.Append("data.setValue( " + i + "," + 0 + "," + "'" + dt.Rows[i]["Name"].ToString() + "');");
             str.Append("data.setValue(" + i + "," + 1 + "," + dt.Rows[i]["Price"].ToString() + ") ;");
           }
           str.Append("var options = {width: 600, height: 300,redFrom: 90, redTo: 100,yellowFrom:75, yellowTo: 90,minorTicks: 5};");
           str.Append(" var chart = new google.visualization.Gauge(document.getElementById('chart_div'));");
           str.Append(" chart.draw(data, options); }");
           str.Append("</script>");
           lt.Text = str.ToString().TrimEnd(',').Replace('*', '"');
  }
  catch
  { }
}

Now run your application to Get Data from Database and Using JavaScript it will Generate Gauge Chart on your Webpage.
Tic Tac Toe Game in asp.net

Tic Tac Toe Game in asp.net

Description:-

in this article we will create tic tac toe game in dot net using css, Markup code and java script. here i have used it to create it and you can play it on your web browser.

Markup code:-

<table width="150px">
  <tr>
    <td>
      <input type="button" id="1" onclick="return Tic(this);" />
    </td>
    <td>
      <input type="button" id="2" onclick="return Tic(this);" />
    </td>
    <td>
      <input type="button" id="3" onclick="return Tic(this);" />
    </td>
  </tr>
  <tr>
    <td>
      <input type="button" id="4" onclick="return Tic(this);" />
    </td>
    <td>
      <input type="button" id="5" onclick="return Tic(this);" />
    </td>
    <td>
      <input type="button" id="6" onclick="return Tic(this);" />
    </td>
  </tr>
  <tr>
    <td>
      <input type="button" id="7" onclick="return Tic(this);" />
    </td>
    <td>
      <input type="button" id="8" onclick="return Tic(this);" />
    </td>
    <td>
      <input type="button" id="9" onclick="return Tic(this);" />
    </td>
  </tr>
</table>
<br />
<input type="button" id="btnPlay" onclick="return Play();" value="Play" 
  style="width:100px; height: 30px; font: verdana 12pt;" />
<asp:HiddenField ID="hfGameOver" runat="server" Value="No" />
<asp:HiddenField ID="hfValue" runat="server" Value="X" />

Style Sheet:-

<style type="text/css">

input
{
  width: 50px;
  height: 50px;
}

.winner
{
  background-color: #FF69B4;
}

</style>

Auto refresh page using javascript in asp.net


Description:-

In this article we will see about how to auto refresh page using JavaScript In asp.net. Here I have create simple we application to display auto refresh with page onload in web page. Using JavaScript call the function to refresh the page in asp.net. for start the timer and stop the timer for after refreshing page. We can set time for when we want to refresh the page onload event.

Default.aspx:-

<body onload="InitializeTimer(5)">
  <form id="form1"runat="server">
  <div>
    <font>This page will be refreshed after
      <asp:Label ID="lbltime" runat="server" Style="font-weight: bold;"></asp:Label>
    </font>
    <font>seconds</font>
  </div>
  </form>
</body>

JavaScript Code:-

<script type="text/javascript" language="JavaScript">
  var secs;
  var timerID = null;
  var timerRunning = false;
  var delay = 1000;

  function InitializeTimer(seconds) {
  //Set the length of the timer, in seconds
            secs = seconds;
            StopTheClock();
            StartTheTimer();
        }

  function StopTheClock() {
  if (timerRunning)
                clearTimeout(timerID);
            timerRunning = false;
        }

  function StartTheTimer() {
  if (secs == 0) {
                StopTheClock();
  // Here's where you put something useful that's
  // supposed to happen after the allotted time.
  // For example, you could display a message:
                window.location.href = window.location.href;
                alert("Your page has been refreshed !!!!");
            }
  else {
  //self.status = 'Remaining: ' + secs;
                document.getElementById("lbltime").innerText = secs + " ";
                secs = secs - 1;
                timerRunning = true;
                timerID = self.setTimeout("StartTheTimer()", delay);
            }
        }
</script>

Default.aspx.cs:-
Or else we can set time on code behind to start timer when page load. Here is the sample code to start time on code behind.

protected void Page_Load(object sender, EventArgs e)
{
  try
  {
    lit.Text = "<script>InitializeTimer(" + 5 + ");</script>";
  }
  catch (Exception Ex)
  {
    Response.Write(System.Reflection.MethodInfo.GetCurrentMethod().Name + "-->" + Ex.Message);
  }
}